Purchase Requisition
Add
To create a new record in purchase requisition, go to Requests Module and look for Purchase Requisition.
Click the add button in the upper right side.

Fill up the following:
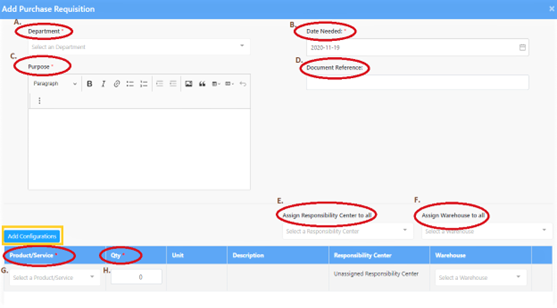
- Department - select the department in the drop down list.
- Date Needed - indicate the date.
- Purpose - indicate the purpose of purchase requisition.
- Document Reference - indicate the supporting documents or basis for purchase requisition.
- Assign Responsibility Center to All - indicate which department will be accountable for the process of purchase requisition.
- Assign Warehouse to All - indicate which warehouse will be accountable for the process of purchase requisition.
- Product/Service - choose from the drop down list the inventory: service, product or item.
- Quantity - indicate the number of inventory.
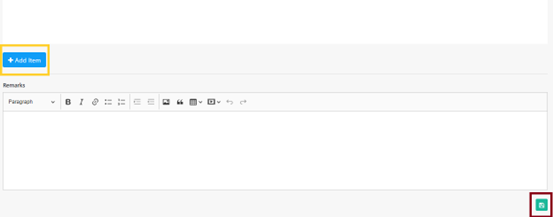
Click the “Add Item” Button if there are two or more product or services needed in the purchase requisition record.
Save
Click the “Save” Button after encoding all the necessary information. The Save Button can be found on the lower right corner.
After you click the save button, a display page will be shown with four different kinds of button found on the lower right side.
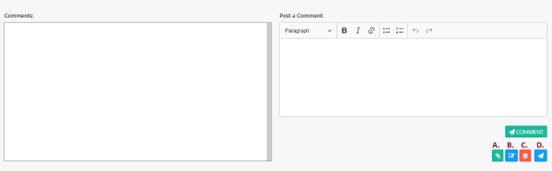
- This button represents file attachment - you can attach file or document that supports your need for creating a record in purchase requisition. Note: PDF file or image file are the only file attachment that is accepted, excel files are not allowed as this can be changed or altered.
- This button is for editing purposes.
- This button is for removal of record that have been created in purchase requisition. Once you click this button, the record that you have been created will be deleted.
- Click this button to submit the record that you have created. The status of the record that you have created will not changed to “checked status” if you will not click this button and the assigned checker will not be able to check this record.
- This button represents file attachment - you can attach file or document that supports your need for creating a record in purchase requisition. Note: PDF file or image file are the only file attachment that is accepted, excel files are not allowed as this can be changed or altered.
- This button is for checking of the transaction that has been created.
- This button is for removal of record that have been created in purchase requisition. Once you click this button, the record that you have been created will be deleted.
- This button is used to return the record that have been created if the assigned checker saw a mistake or wrong information in the records that have been created.
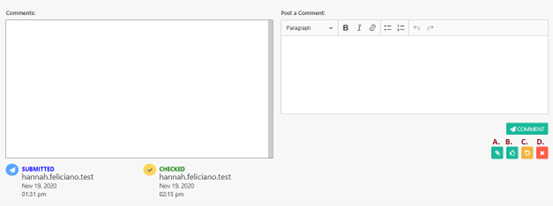
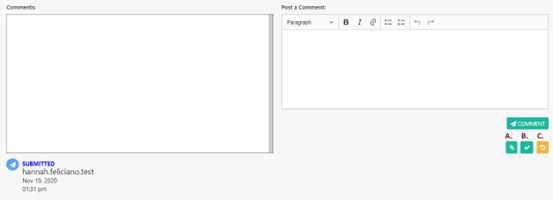
In the image above, in the lower left side, Submitted and Checked Status were indicated as well as the person who submitted and checked the transaction created. The date and time when the transaction is submitted and checked were also indicated.
- This button represents file attachment - you can attach file or document that supports your need for creating a record in purchase requisition. Note: PDF file or image file are the only file attachment that is accepted, excel files are not allowed as this can be changed or altered.
- This button is used to approve the transaction.
- This button is used to return the transaction that have been created if the assigned checker saw a mistake or wrong information in the record that has been created.
- This button is used to cancel the transaction.