Receiving Report
Video Tutorial
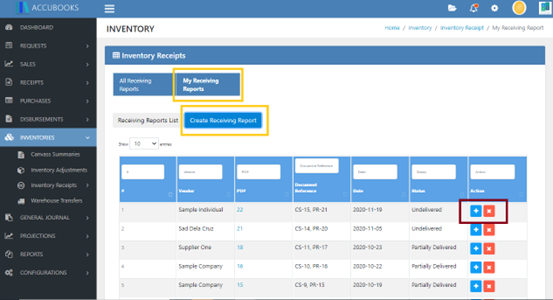
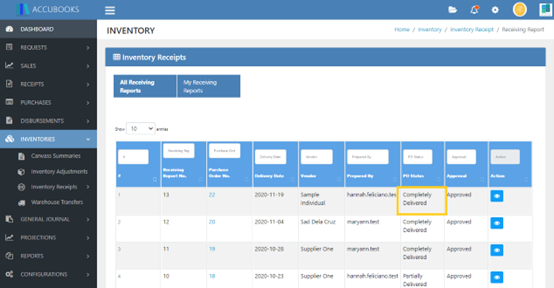
The transactions created in Purchase Requisition linked to Canvass Summary and in Purchase Order will be reflected here in Receiving Report with an “Undelivered Status”. Go to Inventories and click the drop down beside the Inventories and then click Inventory Receipts and under the Inventory Receipts, Receiving Report is located.
Add
Click My Receiving Report Tab and then click Create Receiving Report Tab. After this procedure click the add button in which transaction you want to create a receiving report.
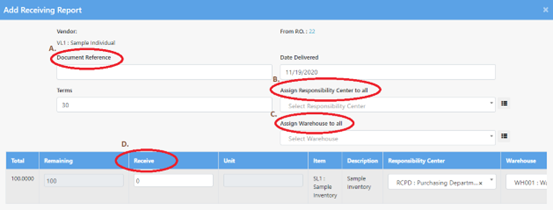
Fill-up the following:
- Document Reference - indicate the supporting documents or basis for purchase requisition.
- Assign Responsibility Center to all - indicate which department will be accountable for the process of receipt of inventories.
- Assign Warehouse to all - indicate which warehouse will be accountable for the process of receipt of inventories.
- Receive Field - indicate in this field the quantity of the inventories received from the vendor.
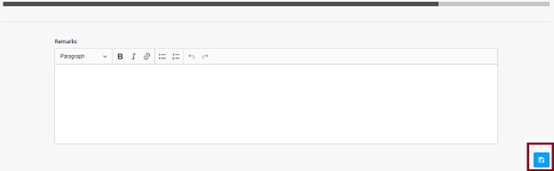
Save
Click the save button located in the lower right side of the transaction.
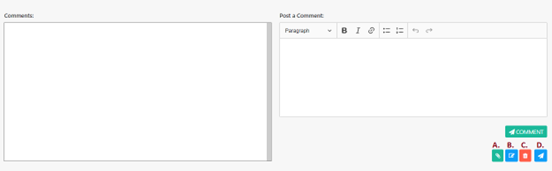
- This button represents file attachment - you can attach file or document that supports your need for creating a record in purchase requisition. Note: PDF file or image file are the only file attachment that is accepted, excel files are not allowed as this can be changed or altered
- This button is for editing purposes.
- This button is for removal of record that have been created in purchase requisition. Once you click this button, the record that you have been created will be deleted.
- Click this button to submit the record that you have created. The status of the record that you have created will not changed to “checked status” if you will not click this button and the assigned checker will not be able to check this record.

- This button represents file attachment - you can attach file or document that supports your need for creating a record in purchase requisition. Note: PDF file or image file are the only file attachment that is accepted, excel files are not allowed as this can be changed or altered.
- This button is for checking of the transaction that has been created.
- This button is used to return the record that have been created if the assigned checker saw a mistake or wrong information in the records that have been created.
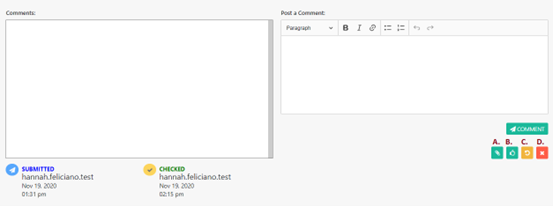
In the image above, in the lower left side, Submitted and Checked Status were indicated as well as the person who submitted and checked the transaction created. The date and time when the transaction is submitted and checked were also indicated.
- This button represents file attachment - you can attach file or document that supports your need for creating a record in purchase requisition. Note: PDF file or image file are the only file attachment that is accepted, excel files are not allowed as this can be changed or altered.
- This button is used to return the transaction that have been created if the assigned checker saw a mistake or wrong information in the record that has been created.
- This button is used to cancel the transaction.
Status
Once the transaction created in the Receiving Report is approved, the “Undelivered Status” will be changed to Completely Delivered or Partially Delivered Status based on the quantity of items that you have indicated.
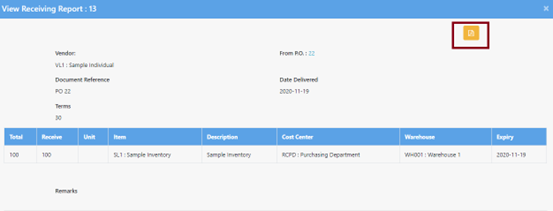
Click this button to convert the transaction created into a pdf form. This button represents “download pdf form”